Out of action for a while
July 27, 2008 – 6:30 pmI had surgery on Friday for a small hernia, so I’m out of action for a bit. The swap is slowly nearing completion, and I’m getting to the point where things are beginning to get buttoned up, but it’ll be at least a week or 2 before I’m able to do any work on the car.
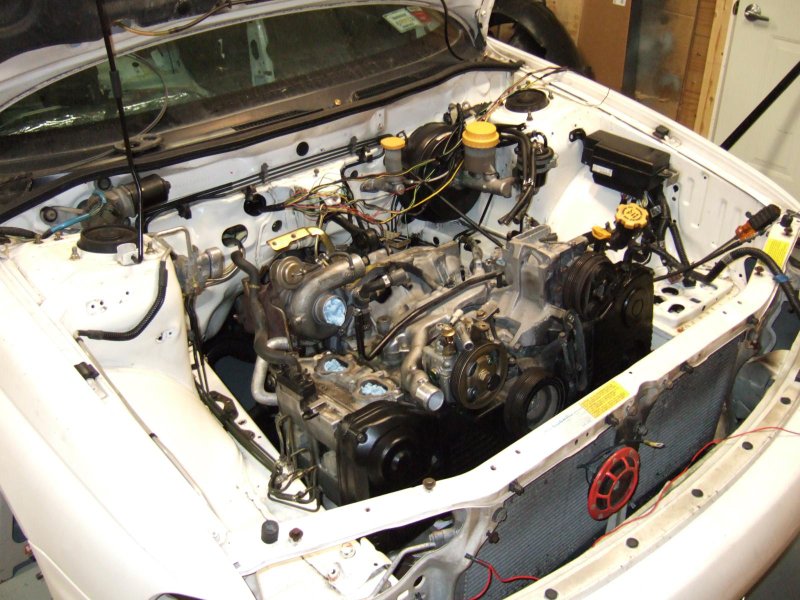
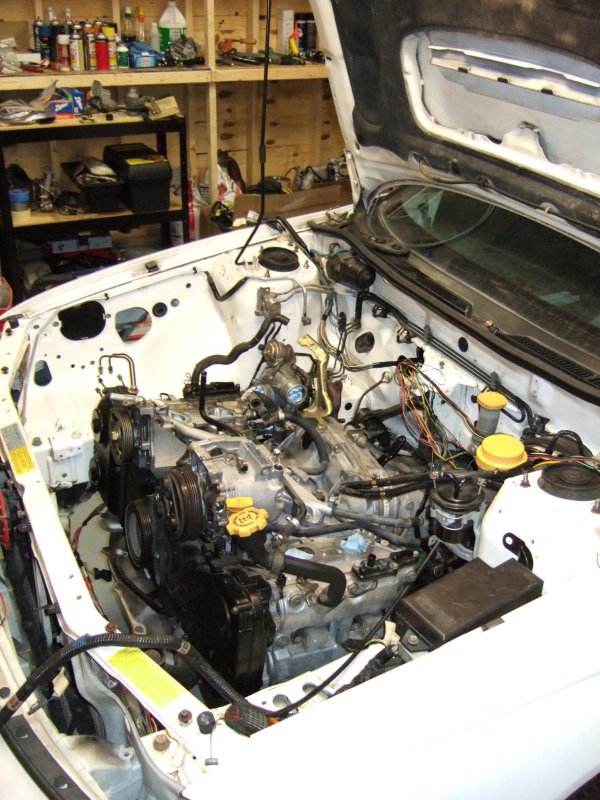
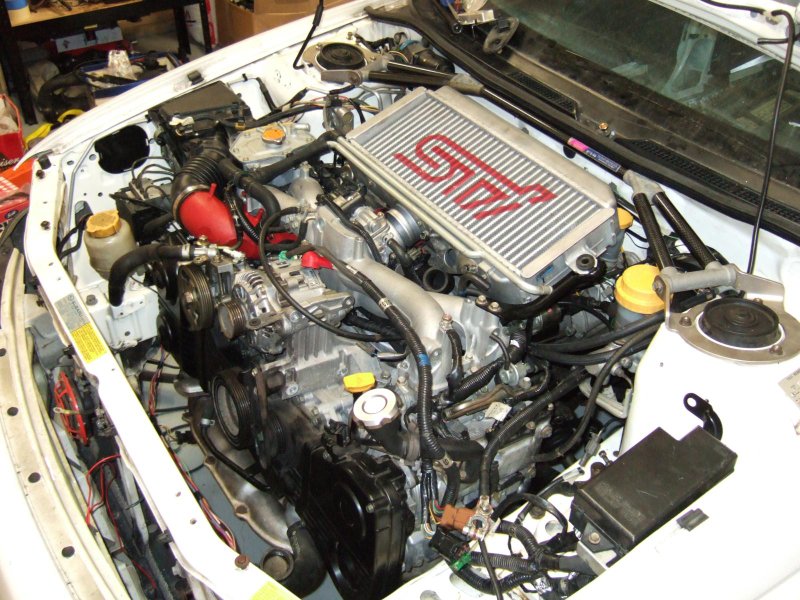
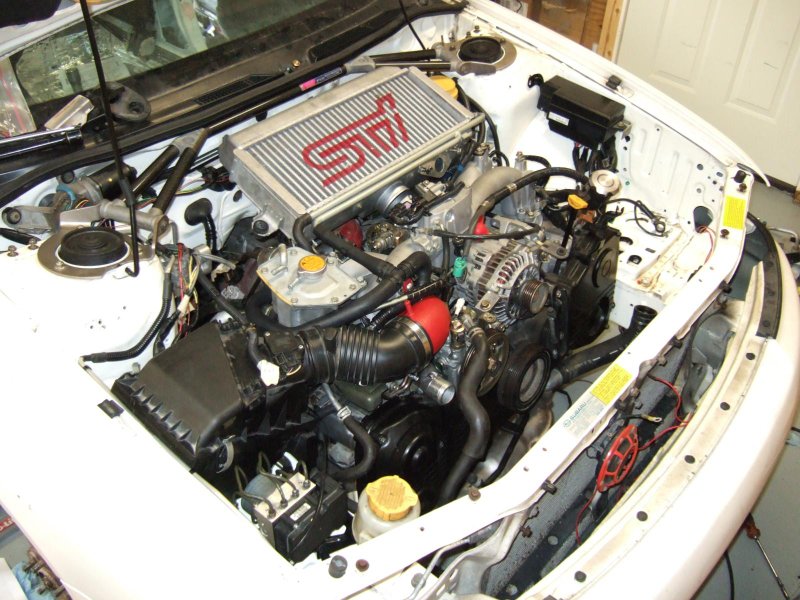
Since the last update I’ve been wrestling with the APS turbo inlet and intake manifold installation. It took a lot of swearing to get everything installed and fitting nicely, but it’s in there now and looks great.
I also implemented a modification to the fuel system I heard about from some guys in NZ, using 2 oem passenger side fuel rails and fuel pressure regulators along with 2 brass T’s and high pressure fuel line to implement a parallel fuel rail system.
The new engine sits quite a lot higher than the stock motor, so I had to notch the support bracing under the hood for clearance at the rear of the intercooler, and the IAC and expansion tank both touch the heat blanket underneath the hood. As far as I can tell this is an unavoidable problem given the lower hood line of the Legacy compared to an Impreza, so I’m just going to wait and see if it causes any problems.
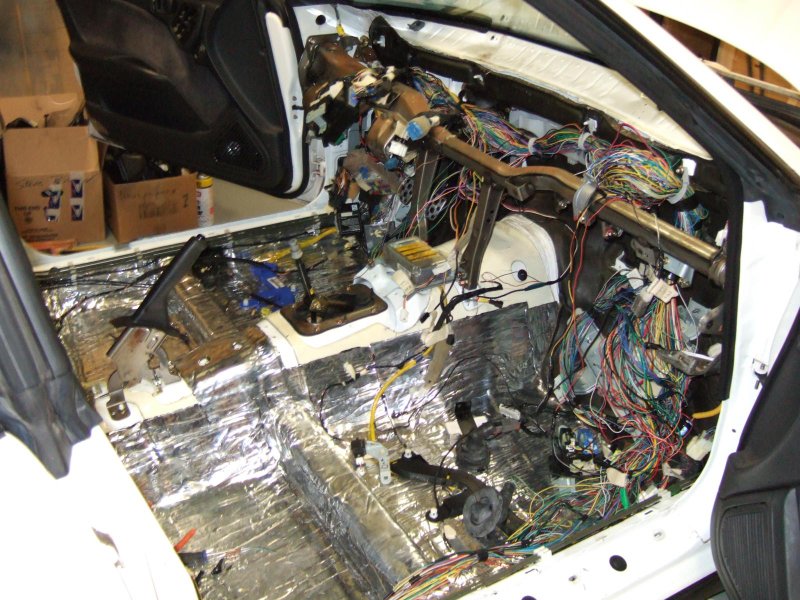
I’ve also completed the brake line modifications needed to fit the 05 ABS system, and made brackets for the new boost control solenoid and 05 cruise control actuator. I still need to finish re-routing the cruise control harness to it’s new location beside the ABS actuator.
The dash went in for a test fit this week, and I have a good idea of how the fuse box and relays will be mounted, just have to make yet another custom bracket for those, and one to hold the fuel pump controller.
I also picked up some more competitive rubber for autox now that the car will be running in Street Modified, OEM Impreza RS 5-spoke rims wrapped in Avon R-compound tires in a 225/50R16 size.