Steering Linkage Swap
July 2, 2008 – 10:15 pmWhen swapping a turbo motor into an older Impreza or Legacy, the front crossmember must also be swapped for the turbo piece in order to clear the uppipe. This is pretty straightforward and doesn’t cause any major problems, but it usually means unbolting the shiny new WRX or STi steering rack and bolting on your old one.
I wasn’t particularly keen on that idea, especially because of the faster ratio of the STi rack. So, I decided to use it and send the old one to the junk pile where it rightfully belongs.
At this point you’ll notice that the splines on the WRX/STi rack are different, so the linkage between the rack and column won’t work. Easy, just swap the column, right? Nope, that won’t work without serious mods as the columns are a different length due to changes to the firewall.
The solution is to keep the original column and modify the linkage so that it has the correct spline count at each end.
To perform this mod you’ll need your original linkage, and a linkage with the correct spline count for the new rack. We’ll be removing the rack end from both linkages and swapping them over.
Begin by removing the lock bolt that holds the linkage to the rack. You’ll notice that the end of the linkage is a single piece of pressed steel. All that is required to remove the end is to spread it open enough to slide it off the u-joint.
Start with your linkage, the easiest way I found to spread the end was to hammer/press successively larger round rod between the 2 ‘ears’ where the bolt passes through.
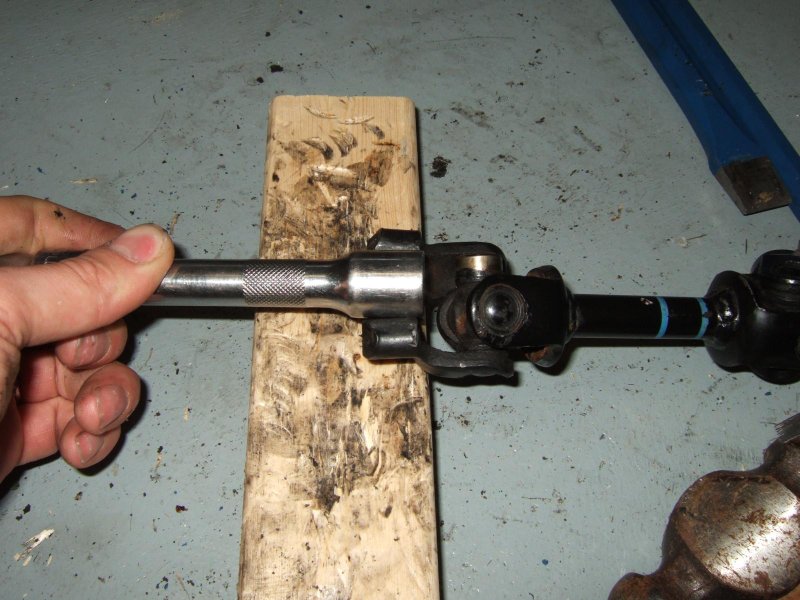
In the photo above you can see the end already spread apart, I was using the large end of the socket extension and tapping it straight down from above to spread the ears without risk of damaging the splines. Begin with something small (I used the other end of the extension in the photo) and use progressively larger rod (sockets work well) until the end is spread open far enough to get it off the joint.
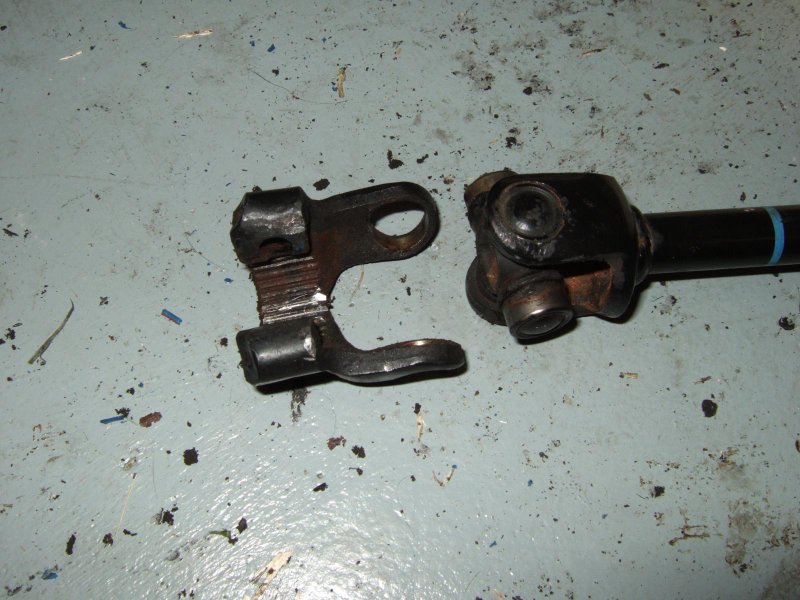
Here you can see the disassembled joint. The parts you see on the end of the ‘cross’ in the joint are bearing races and each contain 20+ needle bearings. They should come out of the end as shown above.
Once one is free you may need to tap the other one out with a hammer & punch. Be careful with these! If they come off you may be able to put them back together as-is (the needles are held in by the grease in the bearing), but if any of the needles come out you should remove them, clean, re-grease and reassemble the bearing (without losing any needles).
Repeat the disassembly process to take the end off the WRX linkage.
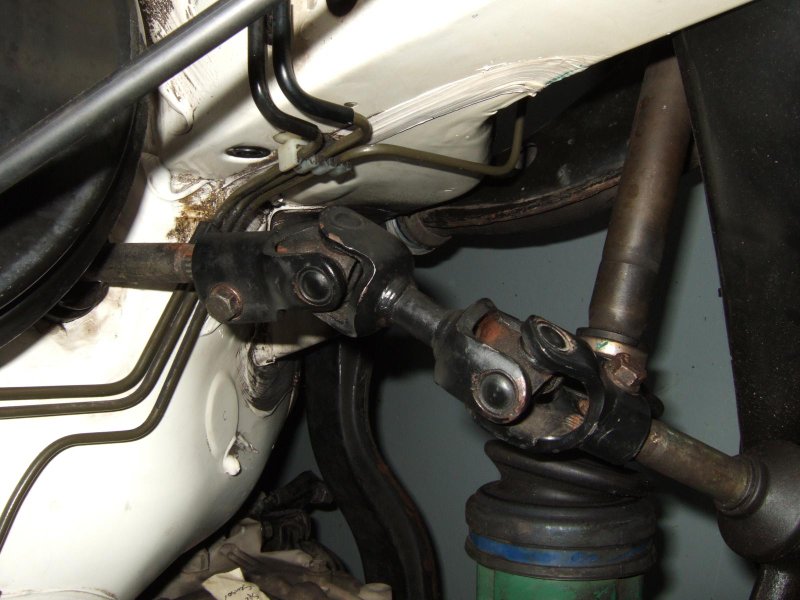
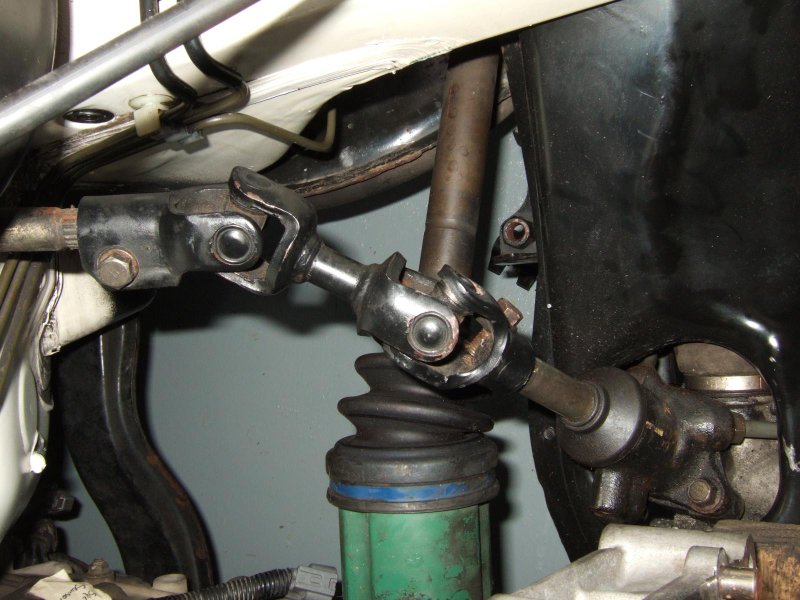
Once you have both linkages apart, it’s just a matter of putting the WRX/STi end onto the original linkage. Place one end of the ‘cross’ into the end and use a hammer or press to slowly close the end back onto the joint. You’ll need to go slowly and make sure that it closes properly onto the bearing races. Once it’s fully seated check the movement of the joint and adjust the fit until it moves freely.
Once the end is moving freely, you’re done. Bolt it up and enjoy!
7 Trackback(s)