Fun with a 20-ton press
March 24, 2008 – 9:21 pm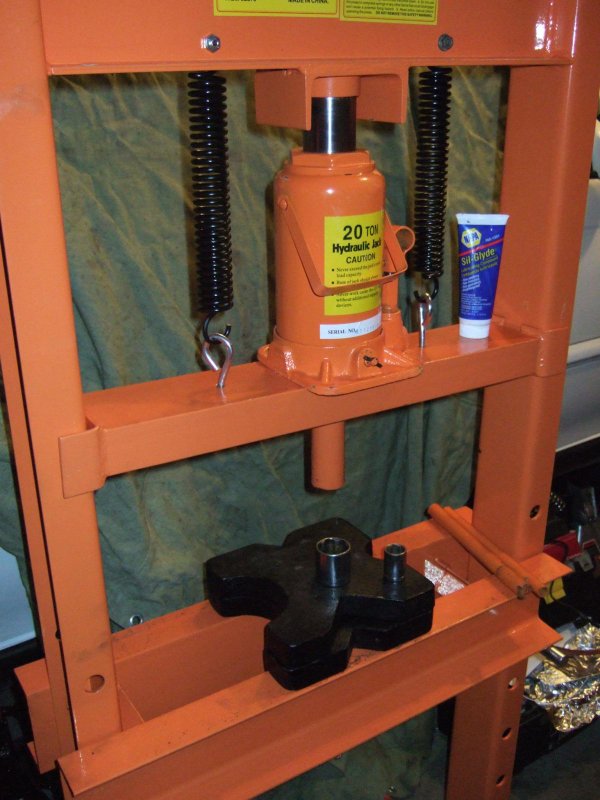
“If I buy a press, I can do the bushings myself…”
After a quick trip to those purveyors of highest quality chinese tools Harbor Freight I was the proud owner of a more-or-less serviceable 20-ton press:
Things I have learned:
- Group-N bushings aren’t quite as terrible as people say
- Use plenty of silicon grease
- Preparation is key
After the old bushings are removed (burning them out is fun!), grind/sand away all of the rust from the surfaces where the bushing will contact so that they are smooth and shiny. Next is the important bit, make a smooth curve around the edge of the hole, so that the bushing can slide in smoothly without catching on the lip and tearing.
Pressing the new bushing in is a 3-step process. First, apply silicon grease (I used the Sil-glyde brand from NAPA) liberally to the bushing, then press it in until it bottoms out (about 3/4 of the way in). At this point concentrate on getting everything lined up properly and it should slide right in. Next, you’ll need to find something just big enough for the bushing to slide into, I used the big socket in the photo above.
Stack the link on top of the receiver, then put something with roughly the same diameter as the metal tube in the center of the bushing on top, like the smaller socket above. Now you can press the bushing all the way into the link and part-way out the other side to allow the lip to ‘pop’ out.
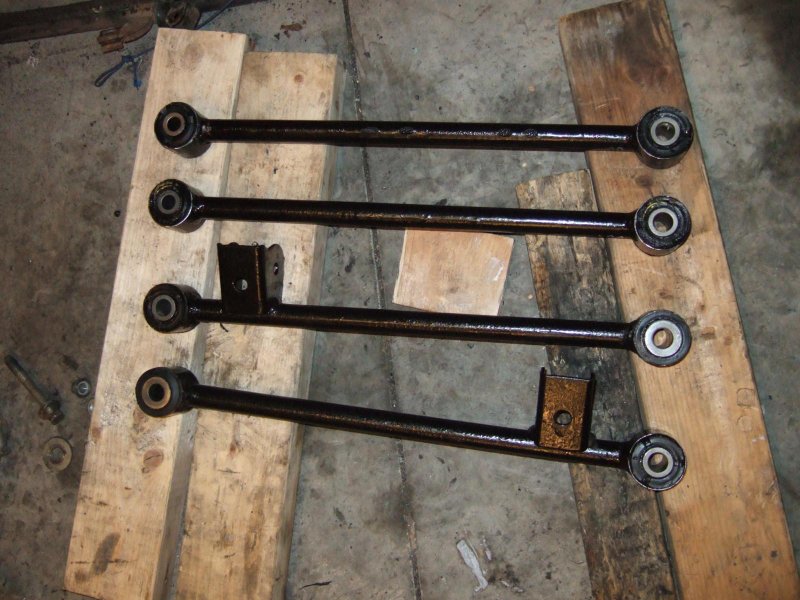
Flip the link over and press the bushing back through until it is centered and you’re done. Rinse and repeat 7 more times for the lateral links, and you’ll end up with something like this.

I also tackled the rear crossmember, which received a set of SuperPro SPF2664 polyurethane rear diff mount bushings and 4 Group-N crossmember mount bushings. Prep for these was roughly the same as above, but I was able to pull the SuperPros in with a c-clamp and a couple of small pieces of wood, and the Group-N crossmember bushings pulled through with a large bolt, yet another socket and a few big washers. Plenty of anti-seize on these should help to ward off rust.
Aside from that little adventure I’ve managed to get the fuel tank and WRX fuel filler neck installed along with the new charcoal canister. I may need to take the tank out again to adjust the fuel line setup though, as the WRX has a quick-disconnect fitting on the main fuel supply line which the Legacy doesn’t have.
Finally, I wanted to show off the latest addition to my toolkit, a gift from my wonderful wife:
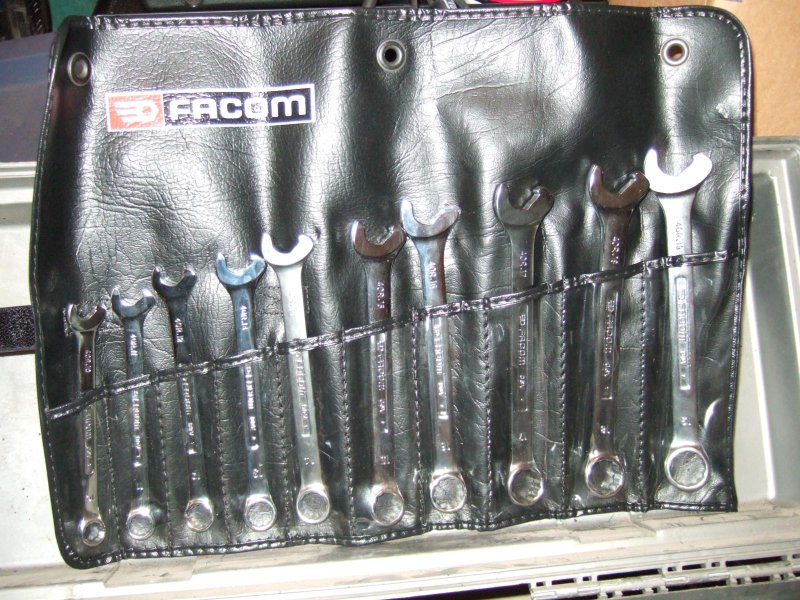
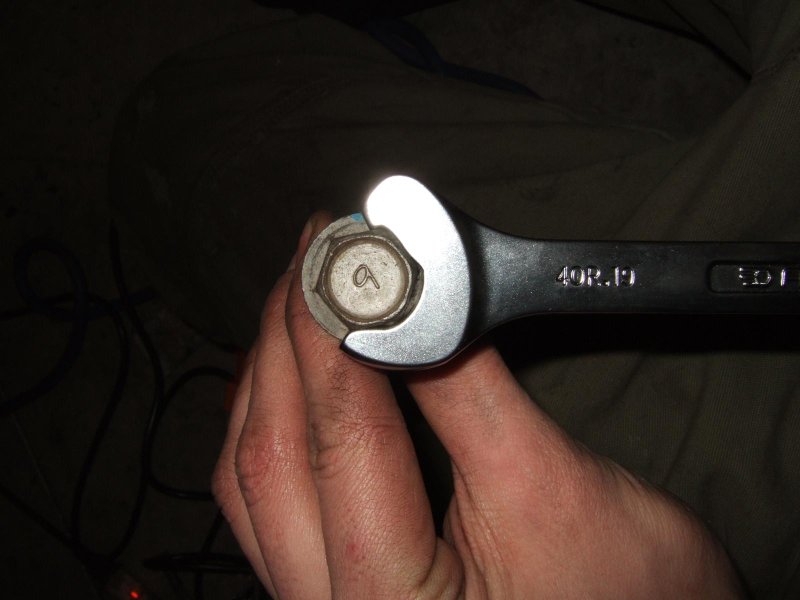
They’re super-cool Facom 40R – Fast Action Combination Wrenches (click for a demo of how they work).
3 Responses to “Fun with a 20-ton press”
Those wrenches definitely look sweet.
By Mike Centola on Mar 26, 2008
hello, I too am about to replace all of my bushing with Grp. N bushings.
I am running into an issue with the 4 rear cross member bushings, do you have the part number (big help)?
What car did the cross member come from?
Are all 4 bushings rubber or are two metal?
I have a 2002 WRX and these are my last set of bushings so any help would be great.
Enjoy the turbo, keep the rubber side down!
By jessup on Aug 26, 2008
I got my group-N bushings through Rallispec, the part number for them is ST2012044000.
All 4 are the same. They are rubber but they are much stiffer than the stock mounts.
By Dan on Aug 29, 2008