Simple Storage Cabinets
February 3, 2013 – 4:14 pmHere’s my method for making large storage cabinets without breaking the bank.

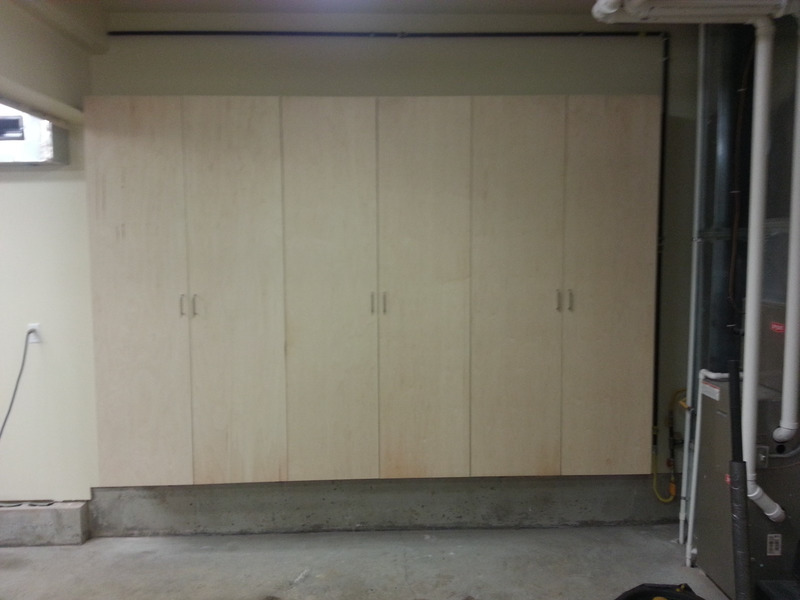
Each cabinet is 40″ wide by 81″ tall by 14 3/4″ deep, and uses the following materials:
2 x 3/4″ 4’x8′ Maple Plywood ($39.97ea)
1.5 x 1×3 8′ Pine ($7.87ea)
66 x 1 1/4″ Kreg Pocket Hole Screws ($4.08/100)
8 x euro-style full overlay hinges ($1.00ea)
32 x #8 5/8″ spax screws ($1.94/50)
2 x brushed chrome 4″ handles ($2.52ea)
6 x 2 7/8″ Headlok screws ($18.97/50)
10 x #7 1 1/4″ spax screws ($1.94/50 to join additional cabinets)
For 3 cabinets the total was $355 + tax, or a bit more than the cost of 1 pre-built cabinet.
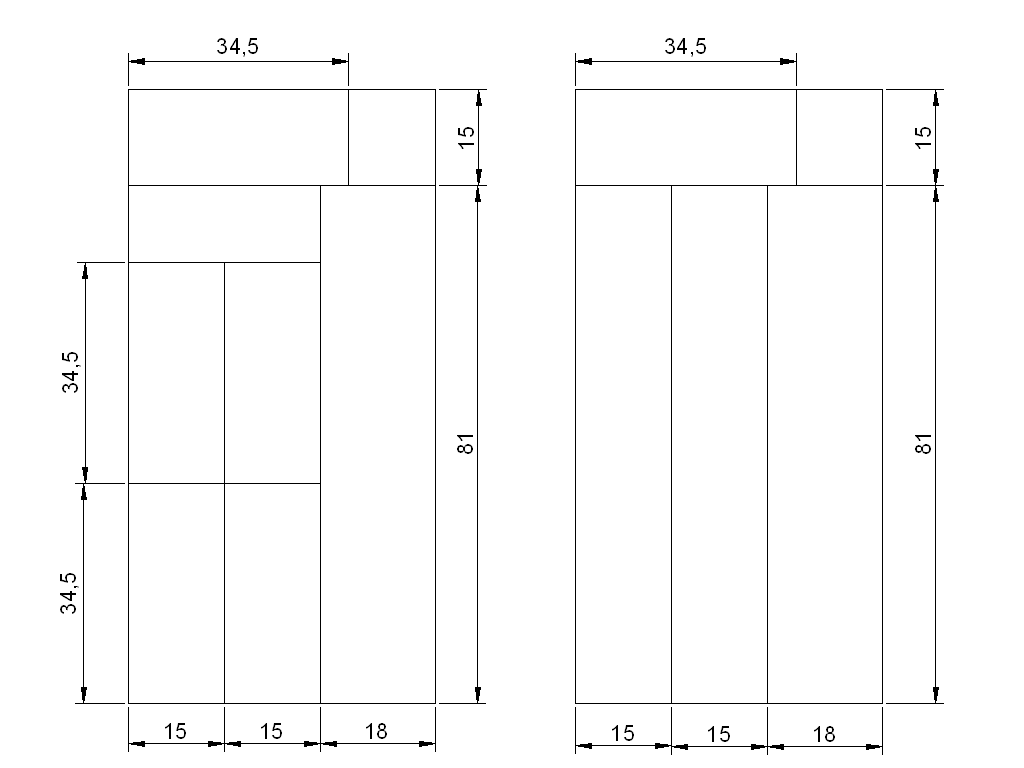
I chose the dimensions to get the largest cabinet from 2 4’x8′ sheets of plywood, which are cut like this:
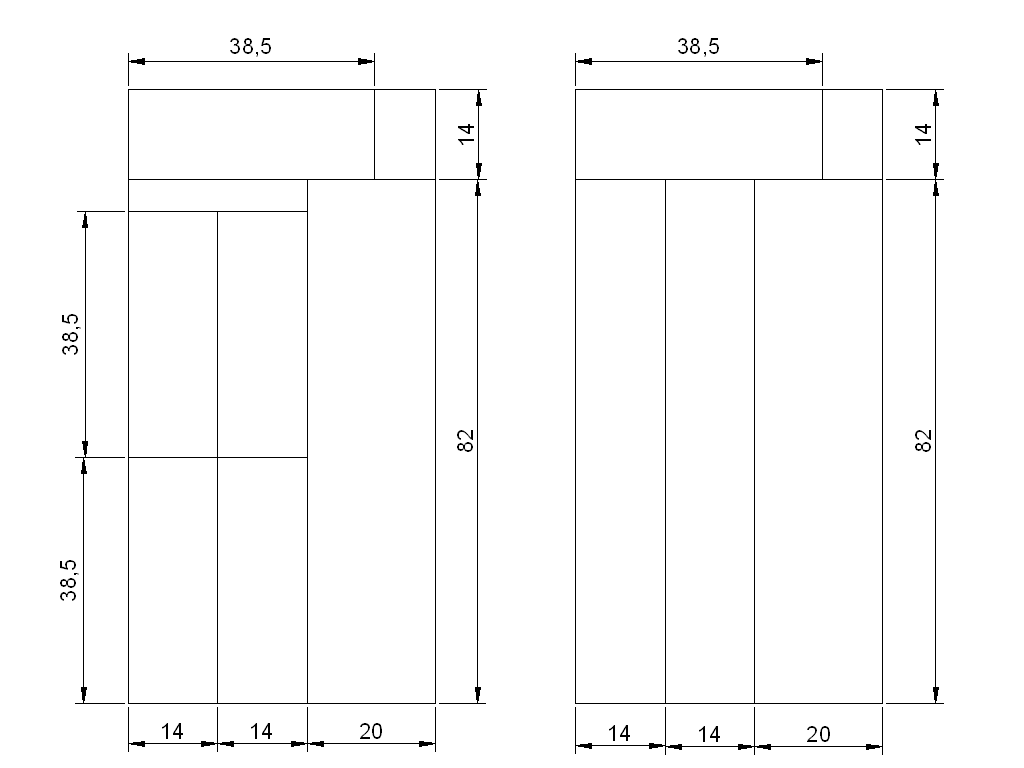
First, make sure the sheets are square. The maple sheets I was using were all pretty good, but you might need to shave a little off to get them square.
Next, cut 14″ off the end of both sheets. I chose to cut on the 14″ side of the line, so my shelves and sides are 14″ minus the width of the saw blade. It doesn’t matter which way you cut, as long as it’s the same every time!
Put the 14″ x 4′ pieces aside, then rip 2 14″ pieces off the long edge of both sheets of plywood. You’ll end up with 4 14″x82″ pieces and 2 20″x82″ for the doors.
Set 2 of the 14″x82″ pieces aside for the sides of the cabinet.
The remaining 4 14″ wide pieces are cut into 38.5″ lengths for the 6 shelves.
Next cut 3 38.5″ lengths of 2×3, these will be the cleats that hold the cabinet to the wall.
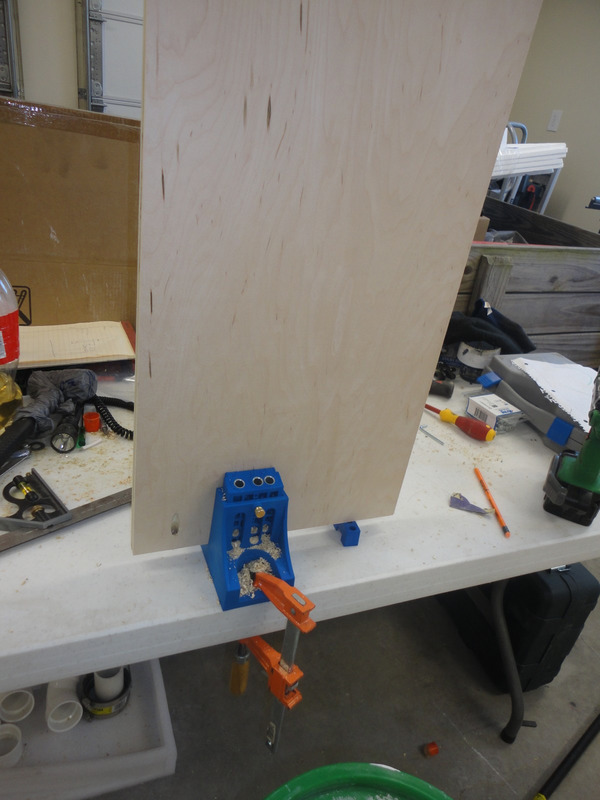
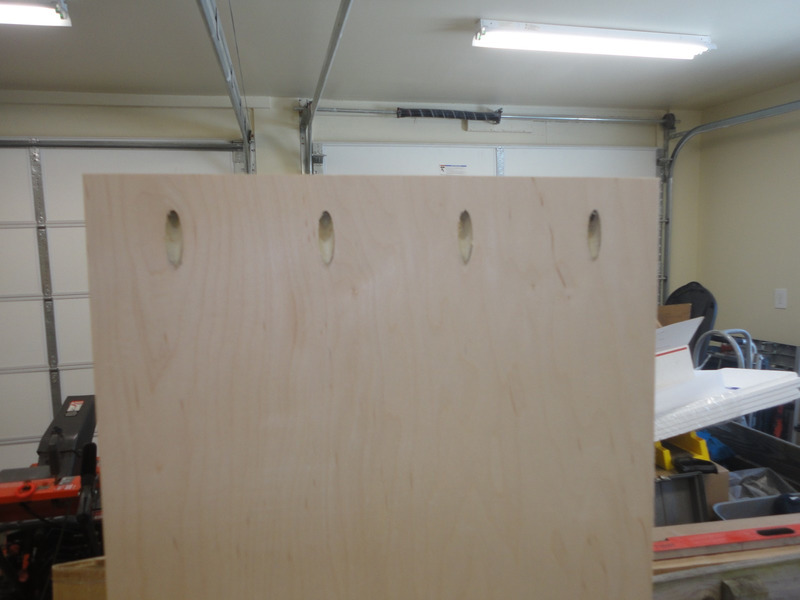
Now that all the pieces are cut, drill 4 pocket holes in each end of the shelves, and 6 pocket holes in each cleat.

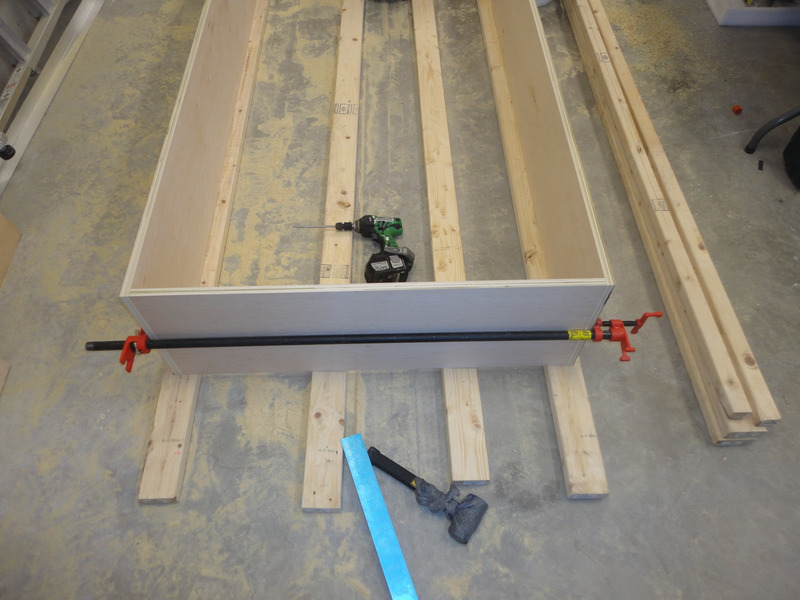
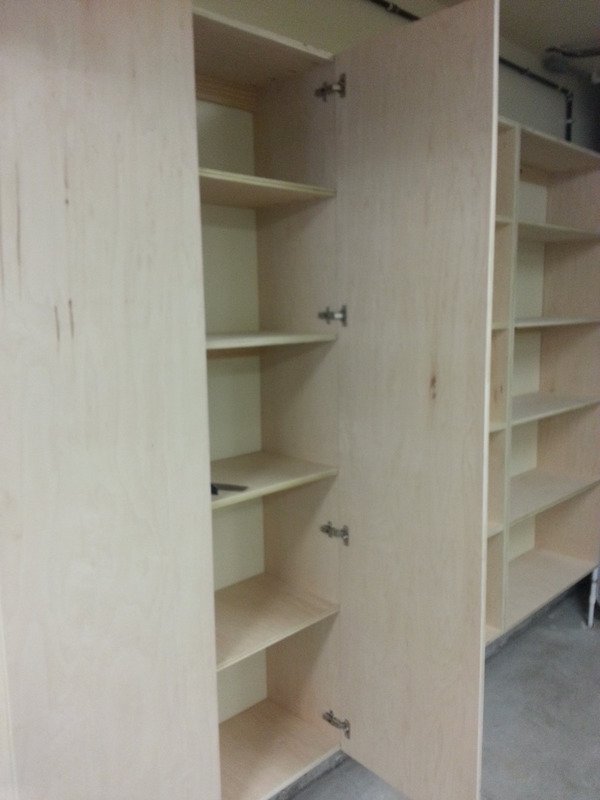
Take the cabinet sides and 2 shelves, clamp and screw together to form a box.

The remaining 4 shelves can now be screwed in place. I put them at 14″, 30″, 46″ and 63″ measured from the top of the cabinet to the top of the shelf.
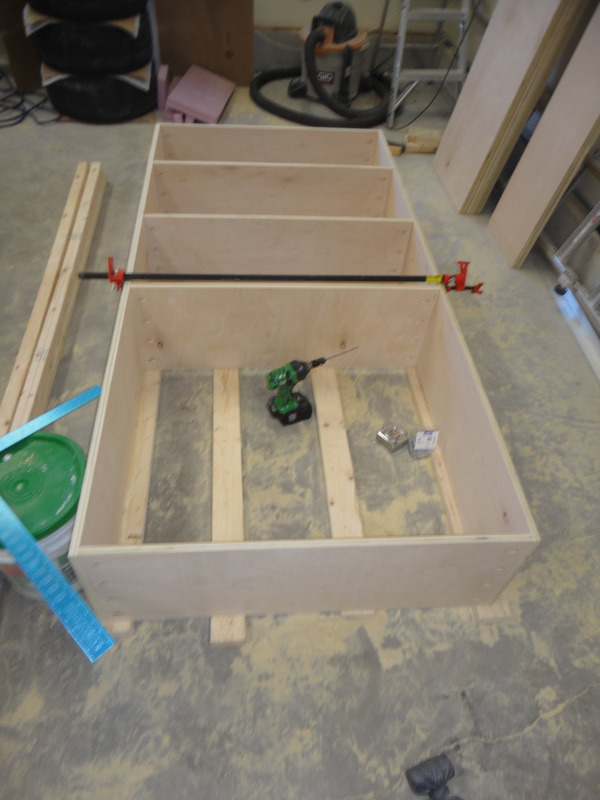
The cleats are screwed in place from the back, and the cabinet itself is done.


The cabinets are mounted to the wall by screwing through the drywall and into the studs. Start by marking the wall where the left edge of the cabinet will be, then locate the studs and measure the distance to pre-drill clearance holes in each cleat.
Now the cabinet can be set against the wall at the desired height, leveled up and screwed in place.
When mounting multiple cabinets, each subsequent cabinet is screwed to the previous one with 1 1/4″ screws to keep everything tight.


Now for the doors…
Start by measuring the final assembled width of the cabinet, divide by 2 and then subtract 1/16″ for clearance to find the width of the doors. Trim or plane the door panels to their final width, and install 4 hinges on each door.
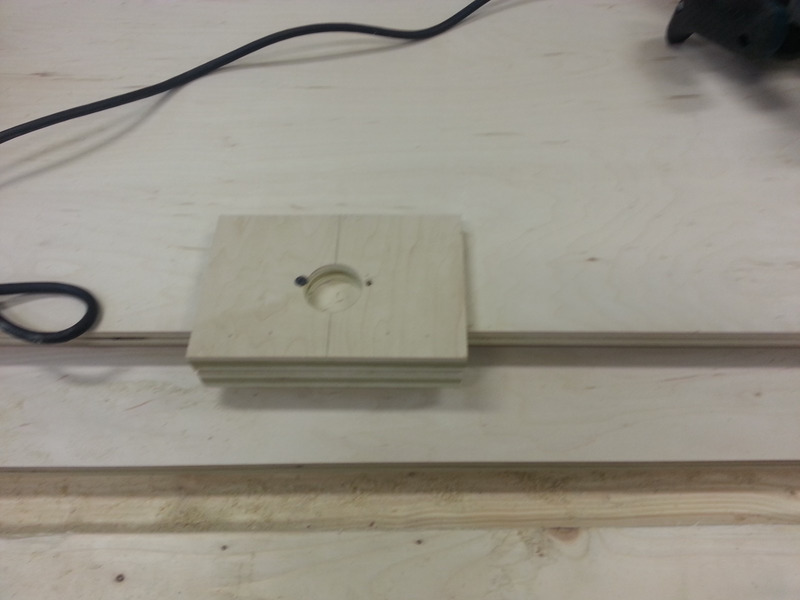
I used a shop-made jig to route the hinge pockets, but you can also use a forstner bit. Cut the pockets and mount the hinges, then attach the doors to the cabinets.
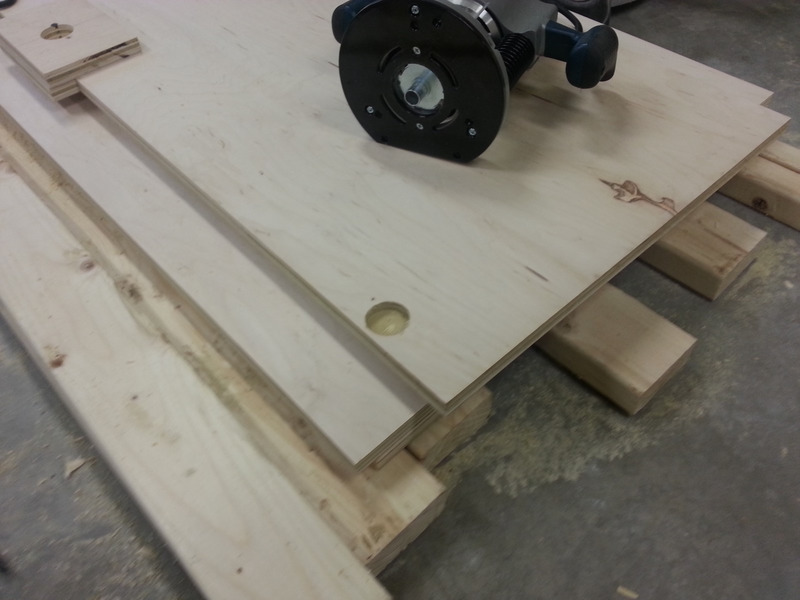

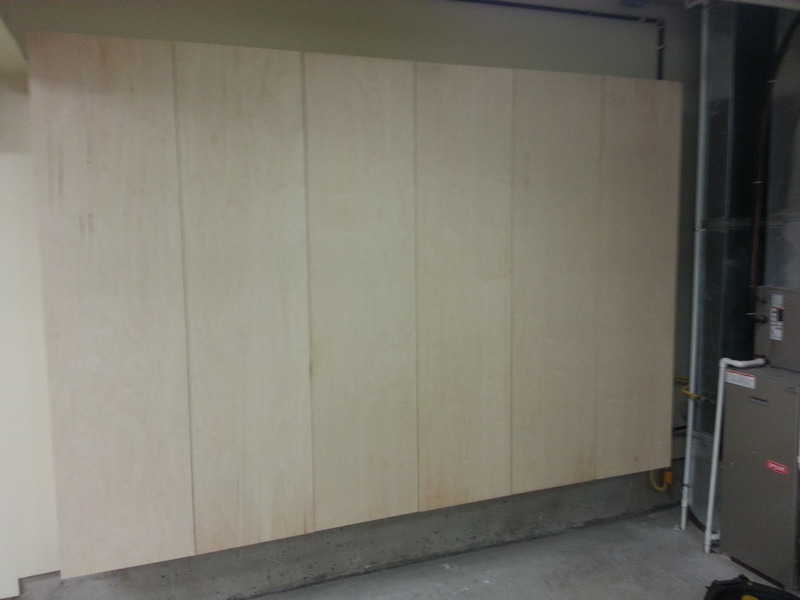
Adjust the doors as you go so they’re level and have an even gap between each one, then attach the handles and admire your handiwork!
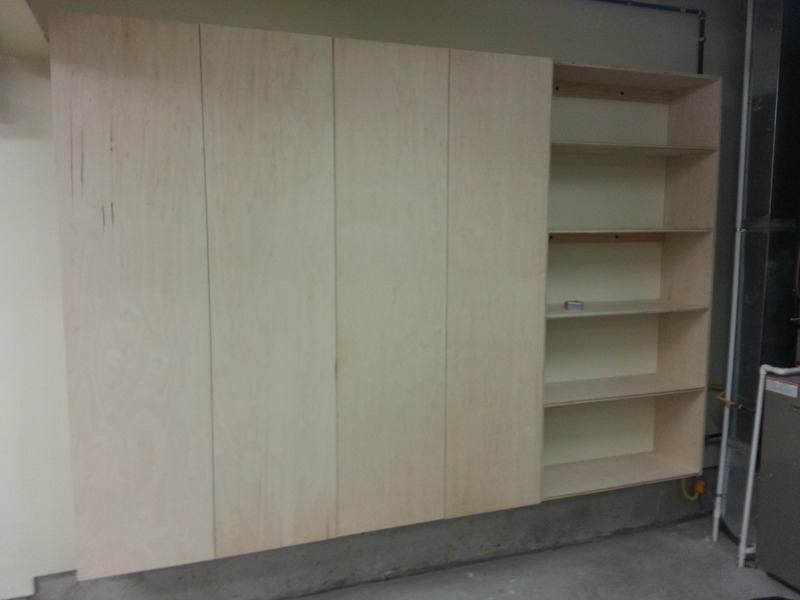
You can use the same method to make cabinets that are 37.5″ wide, 15″ 3/4″ deep and 81″ tall, with the same materials list:
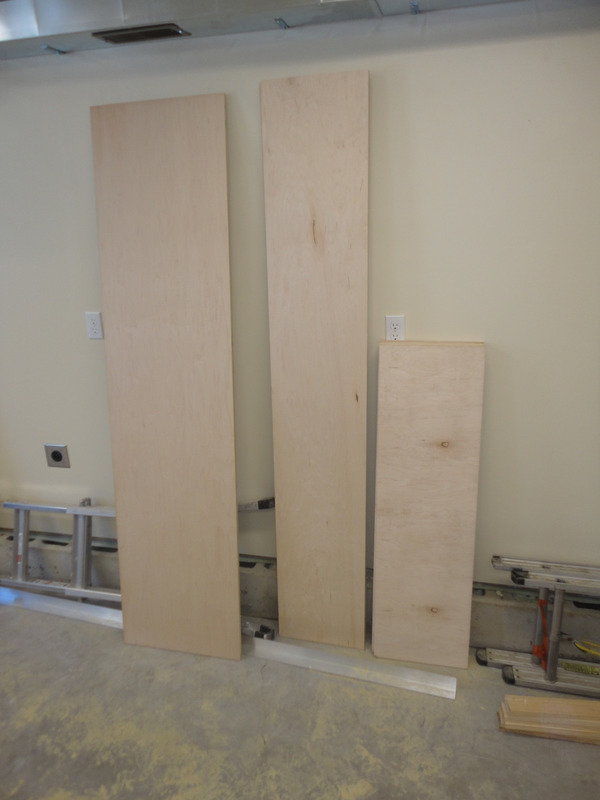
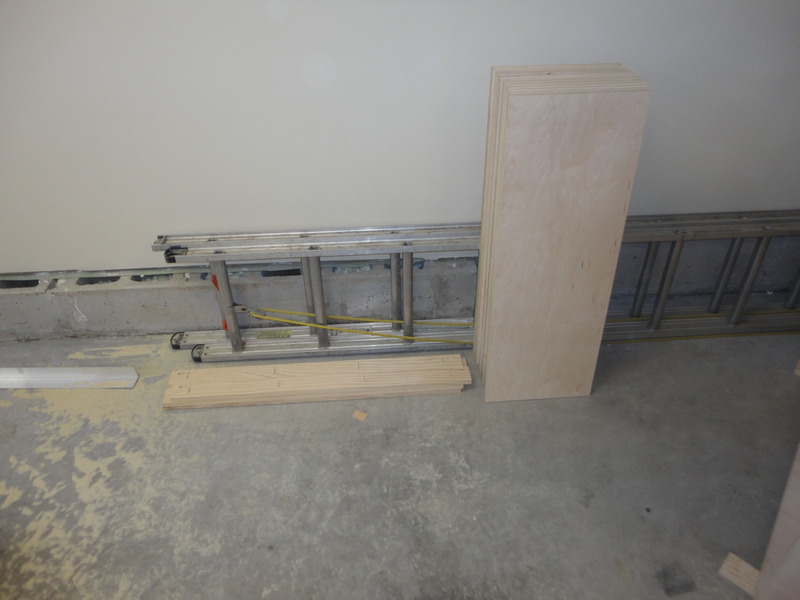
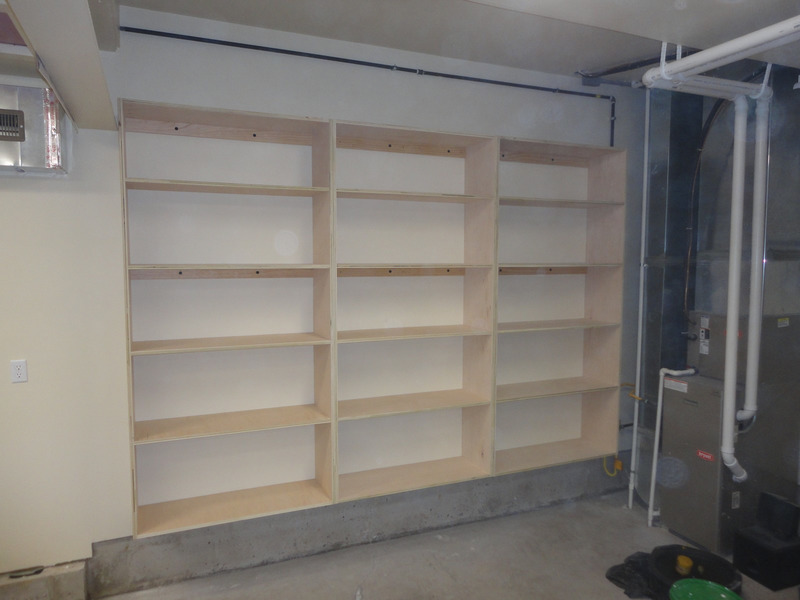
Here is a set of shelves without doors made from a single piece of plywood using the same technique, total build cost was under $60.


I’m very pleased with how they turned out, and was surprised how easily they went together. This was my first project using the Kreg system, and as long as the joints are properly clamped they go together very well.
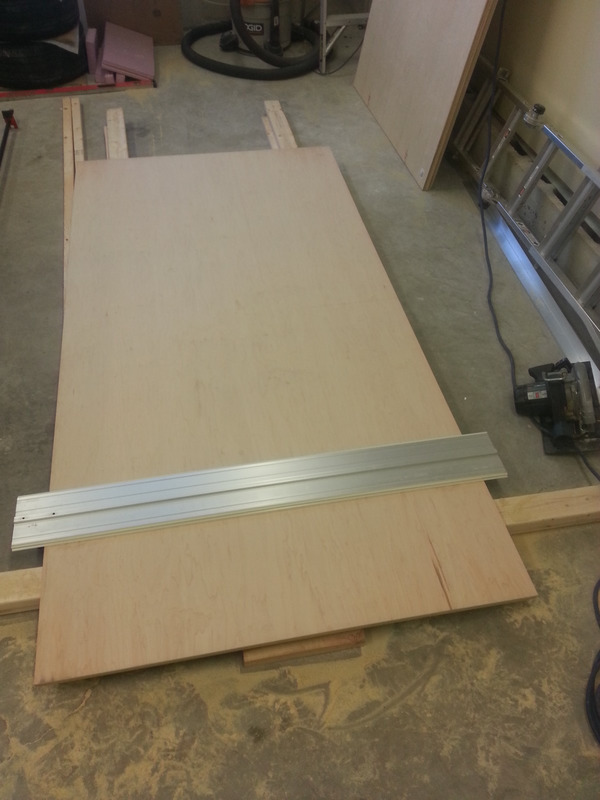
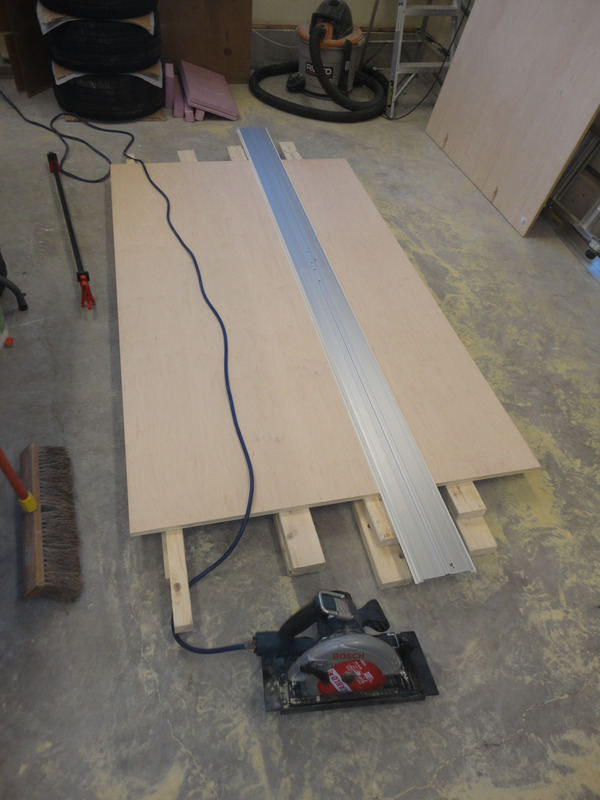
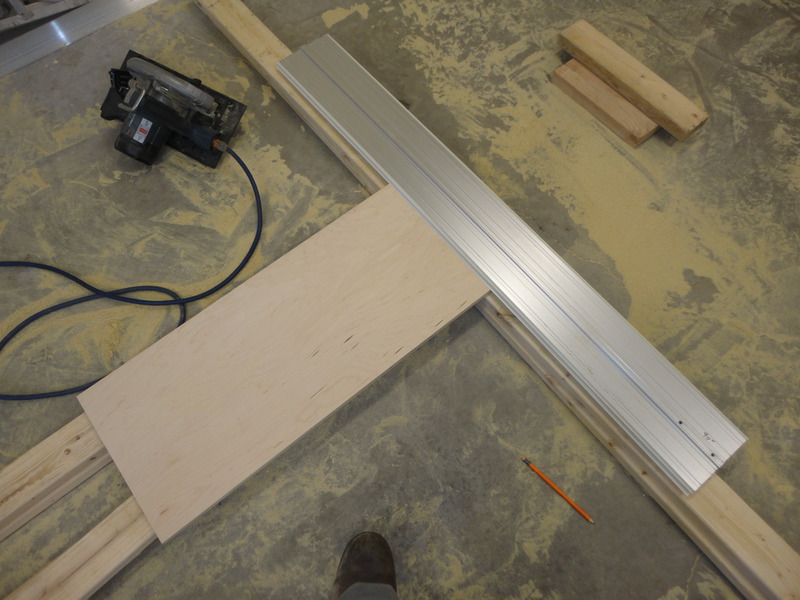
I made the shelves using aluminum angle as a saw guide, but it was a pain to get everything lined up and very easy for the saw to wander off line away from the guide. The EZ-Track system made things easier to lay out and in general performed very well, though you have to be careful to keep the saw level at the end of the cut when the outside “foot” on the base runs past the end of the workpiece.