AVIC-F90BT in the 4Runner
February 1, 2009 – 3:56 pmWe’re planning to take the 4Runner on a road trip this month (NY <> FL) so I decided it was time to do something about navigation and better iPod/MP3 integration.
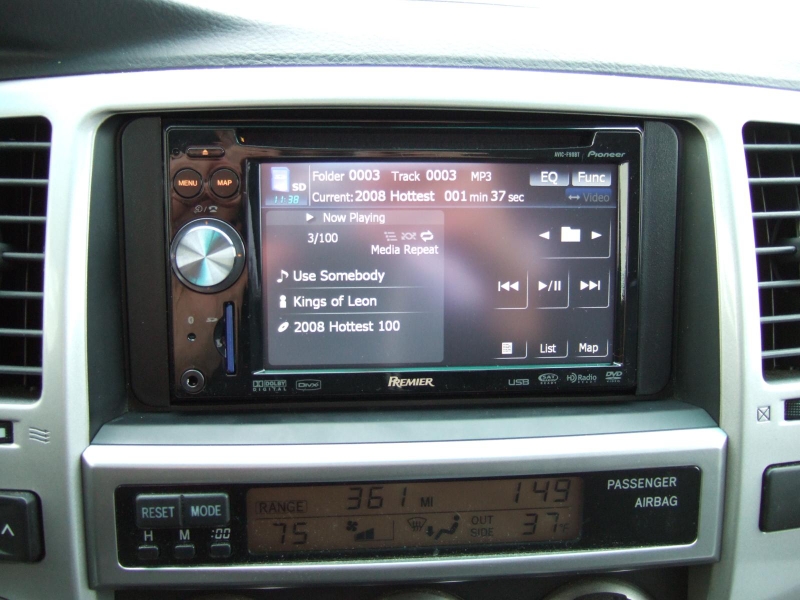
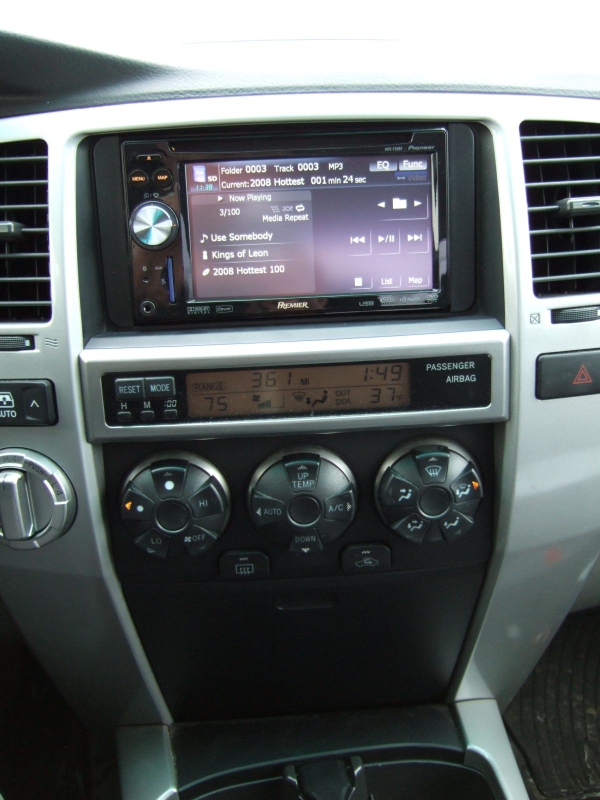
I decided to go with the Pioneer AVIC-F90BT because it had all the features I wanted at a reasonable price.

The Sport Edition has a 10-speaker single-disc JBL sound system, so in order to keep the OEM JBL amp I went with a PAC TATO kit for the audio connectivity, PAC SWI-PS for steering wheel controls and a Metra 95-8202 dash kit.
The PAC units were very easy to work with, and a nice surprise was that the TATO came with a 4runner-specific harness for the SWI-PS and the proper R1/R12 and R5/R10 plugs.
I only had to solder 4 connections to hook the TATO harness up to the AVIC (after removing the unused outputs from the black AVIC connector):

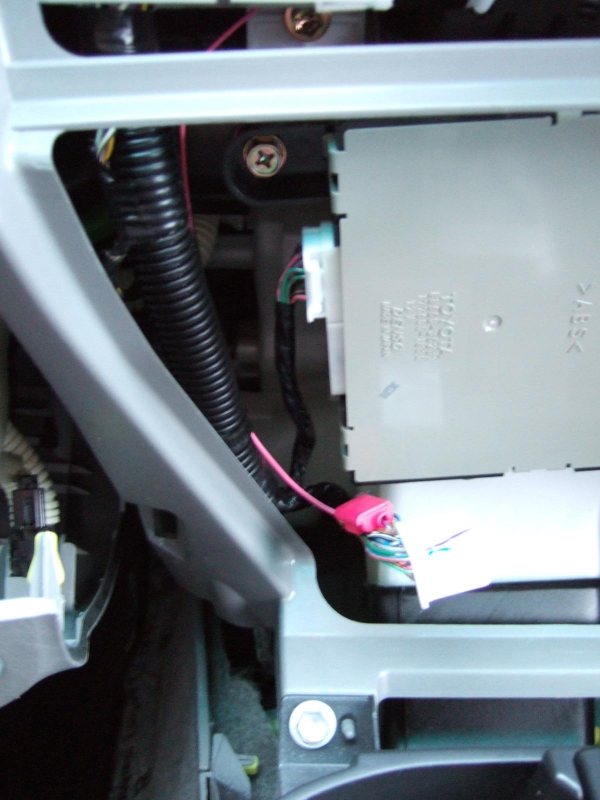
The car doesn’t have the R9 connector for vss/reverse/park on the factory nav, so I had to tap into the main harness. I pulled VSS where it enters the HVAC ECU on A16 pin 8 (Violet w/ Red stripe). For reverse, I used 1F pin 10 (Red w/ Yellow stripe), which is the connector right next to the fuse box in the driver’s side lower panel. I ended up doing a hardware bypass so I just grounded the park wire.

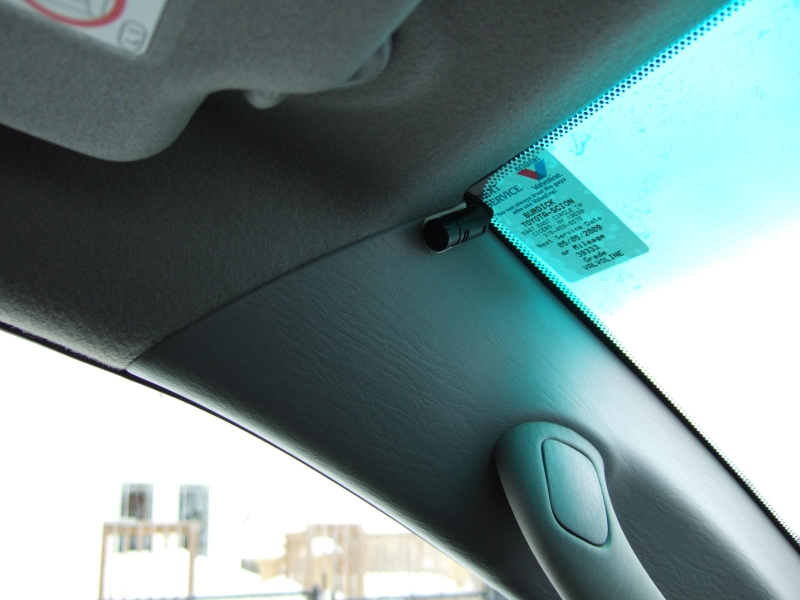
I placed the GPS antenna on top of the HVAC ducting to the right of the center speaker, it seems to be pretty secure there and I’m getting great signal.
I was a little worried about how the Metra kit would fit (having read some horror stories), but it isn’t too bad. I didn’t have to trim it at all and my only complaints are the small gaps at the top and bottom, and that it sticks out very slightly further than the stock plastic surround.

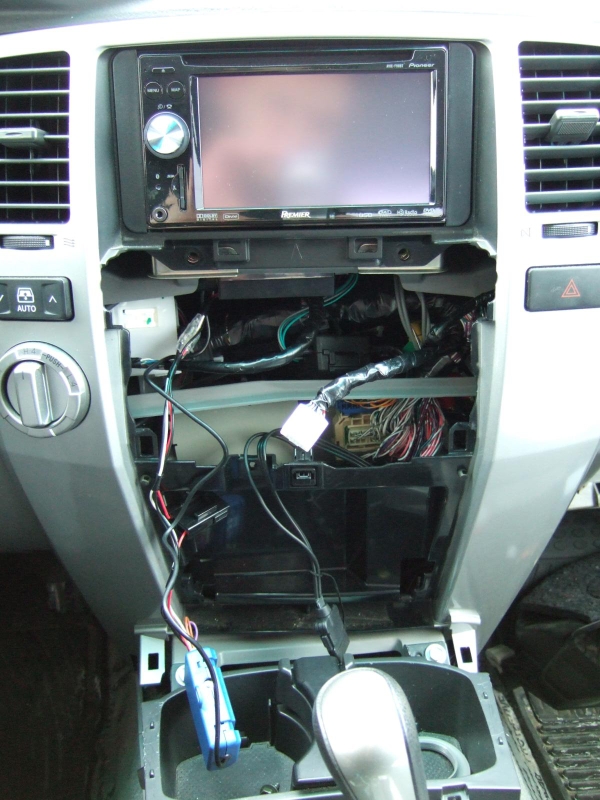
In those pics you can also see the TATO (black box) sitting on top of the wiring harness, and the SWI-PS hanging down. After it was programmed I was able to tuck it down beside the HVAC ECU.
I pulled the driver’s side a-pillar trim to route the mic wire, that turned out to be much easier than expected as once the grab handle is removed it slides right off by just pulling the top towards you and wiggling a little to free it from the dash.
I have to find some stronger tape to hold the mic itself in place, but I’m very happy with the location and it seems to pick up voices just fine.
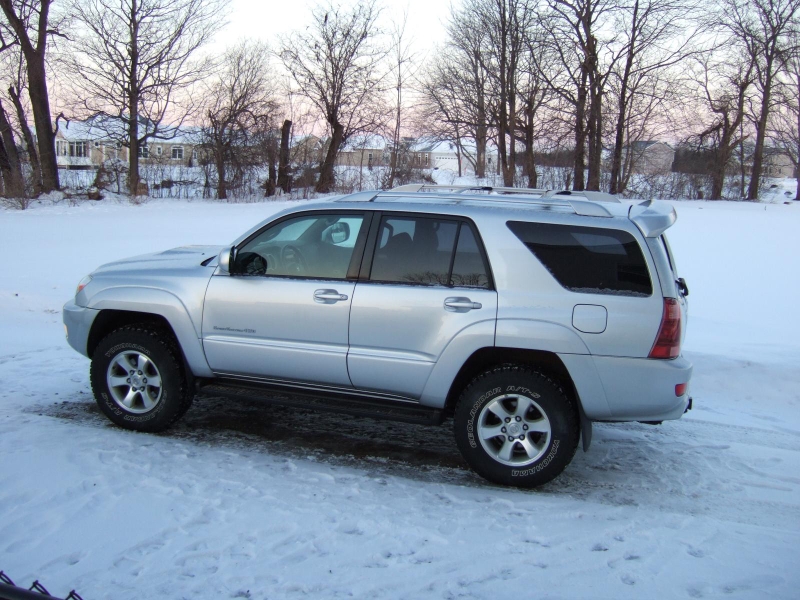
Finally, a couple shots of the finished install & the truck.
12 Responses to “AVIC-F90BT in the 4Runner”
Looks great! I really like the new pioneer headunits… The only reason I went with the alpine ones are for the removable blackbird nav.
By Mike Centola on Feb 1, 2009
I hope you don’t mind my comment, but I just wanted to thank you.
By Garmin on Apr 8, 2009
AAAahhhhh!!! Is that a SCOTCHLOCK ??? AAAAHHHHHHHHHH!!!!!!!!!!!
By Ian Sait on Apr 8, 2009
Yeah, I had to splice the reverse and vss into the factory harness and the old vampire taps are the most removal-friendly method I could think of. Rest assured that all the audio & power connections are soldered and heatshrinked.
By Dan on Apr 28, 2009
What and where did you buy the trim kit for the 4runner/ f90bt?
By Dan on Dec 17, 2009
It’s a Metra 95-8202, I got it at BestBuy and was surprised that the price was reasonable. There are a few different styles of radio surround on different year and trim level 4runners, so make sure you get the right kit based on which factory radio you have. If you have the same style as mine, a Scosche TA1465B should work also.
By Dan on Dec 17, 2009
Great! Thanks. I have an SR5 2006 4runner, which has the same “sunken” radio.
if you dont mine, could you explain how you determined where to put the speed sensor, reverse sensor, and the antenna? I have been googling 4runner electrical for days now and I cant seem to find any helpful information.
You explained the VSS pretty well, but I did not understand where you found the reverse wire near the fuse panel. Also, where did you hook up the blue antenna wire to? In the manual it states a “antenna booster” because we have glass antennas?
By Dan on Dec 18, 2009
If you’re using the TATO interface then you don’t need the blue antenna wire, it takes care of that for you.
The reverse signal I took from connector 1F pin 10 (Red w/ Yellow stripe), which is the connector right next to the fuse box in the driver’s side lower panel. You can see it in the pic below, it’s the left-most connector next to the fuses near the driver’s door.
By Dan on Dec 19, 2009
Thank you for your site! I am about to install an AVIC-X910BT this weekend in my 4Runner SR5.
Which doc did you use to determine which connector and wire to tap to for vss and reverse?
By Jeff on Mar 16, 2010
I used the Toyota wiring diagrams, what year is your SR5? Some 4runners came with a 3rd connector behind the radio for the factory nav, in which case you can use that, if you don’t have a spare connector there then you’ll need to tap in like I did.
By Dan on Mar 16, 2010
I have a 2005 4Runner SR5 V8. My guess is that I have to tap in like yours. Again, thanks for info and great pics.
By Jeff on Mar 16, 2010
Hi,
I tried to tap in to the connector as shown in your pic 5 but I couldn’t find any purple/red wire. The connector above did have a purple/red wire but I wasn’t sure if that was the right one. Per others’ recommendation, I picked any purple/red wire next to the ‘ABS’ box (pic 4) and tapped in. After driving my 4runner around, I don’t believe I was getting any speed pulse. Do you have any idea? Thanks.
By Jeff on Mar 21, 2010