October 30, 2008 – 10:28 pm
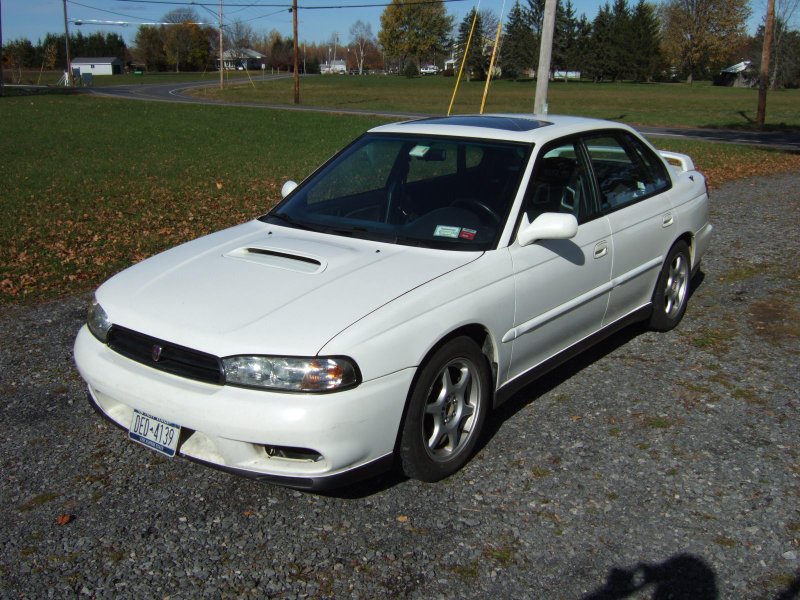
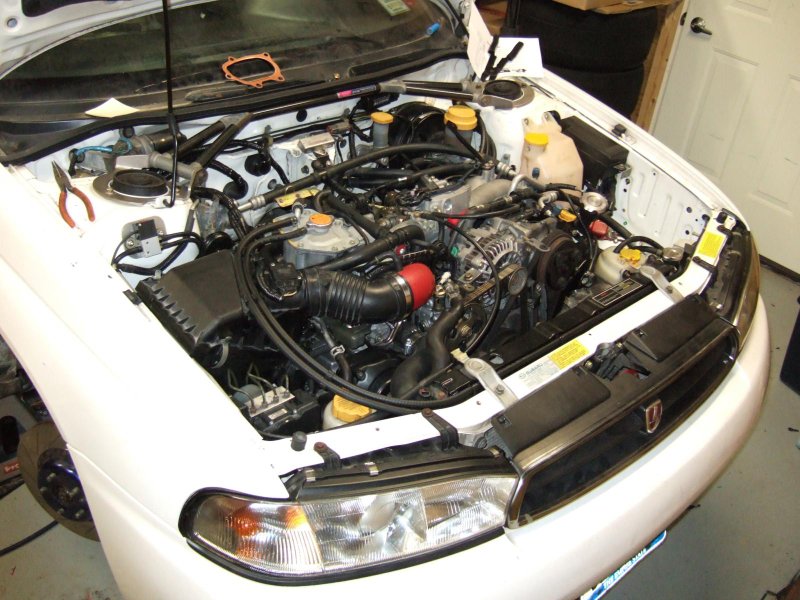
Haven’t had time to update the blog, but getting the car running on Saturday was the boost I needed to knuckle down and get it back on the road. After working all day Sunday it rolled out of the garage under its own steam at 7pm, a couple of minor tweaks and I headed off to the weekly local Subaru meetup!
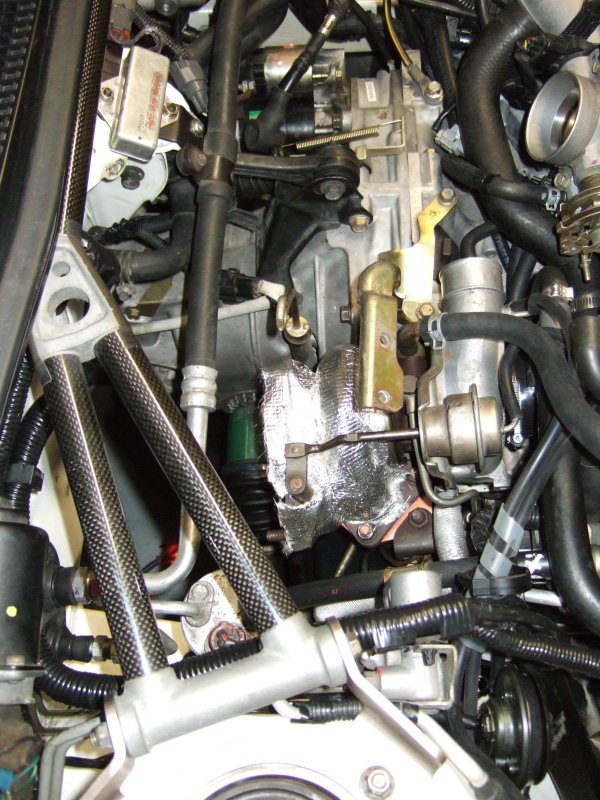
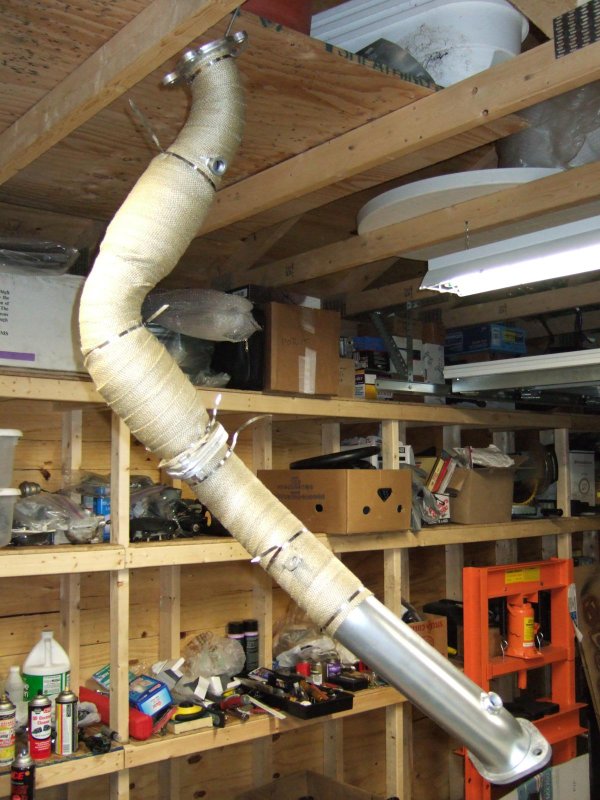
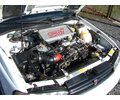
I was starting to freak out a little when I stopped at some traffic lights and there was smoke coming out of the hood scoop, but as far as I can tell it’s just the heat wrap from the downpipe bedding in. Other than that the trip went smoothly and the car was running well.
Since then I’ve been taking care of the loose ends that remain, still have plenty to do but it’s getting there.
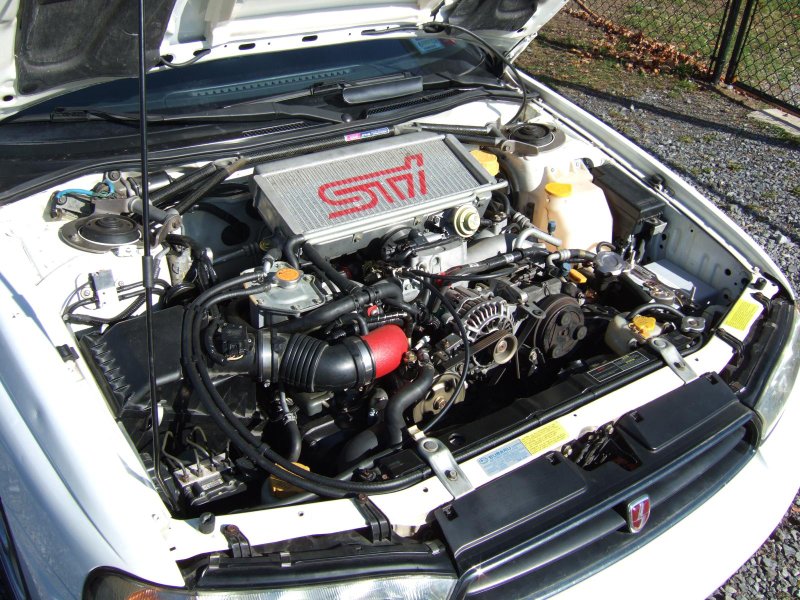
First up was the new battery, I ordered a Deka/BigCrank ETX30L a while ago but was waiting for the proper terminals for it, which arrived this week. It’s a sealed AGM (Absorbed Glass Mat) battery that should give me plenty of grunt for starting the car in the New York winters, but weighs only 21lbs. It’s held down with a modified SPT battery bracket and custom stainless steel tie-down hooks.
It seems the WRX body integrated unit couldn’t handle the load of the added door lights in the Legacy, so I swapped it out for a spare and removed them temporarily until the LED replacements I ordered arrive. Hopefully they won’t draw as much current as the incandescent bulbs and the body integrated unit will be able to drive them without problems.
Another project completed this week was the wiring for my fog/driving lights. I modified the fog light circuit so that the stock fog light switch turns on the fog lights when the parking lights or low beams are on, and when I switch to high beam it automatically switches over to the driving lights.
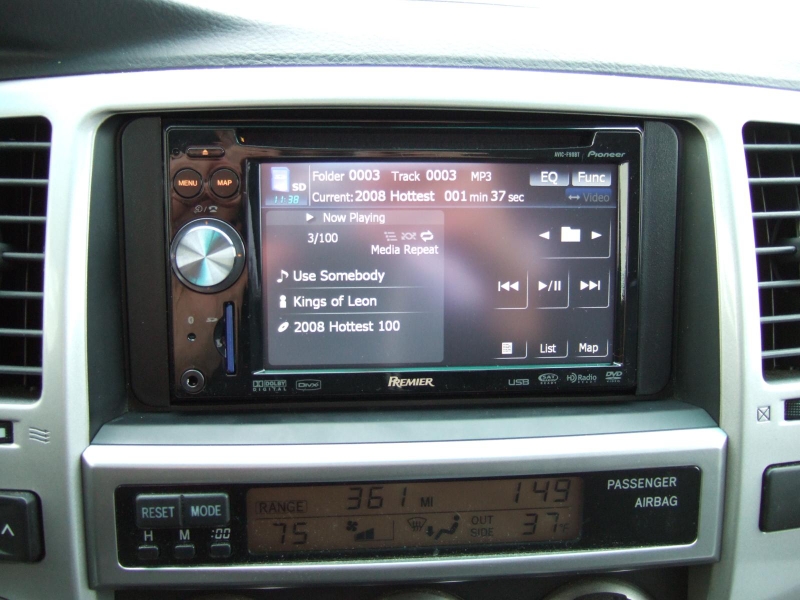
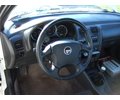
Once that was out of the way I was able to get the fender liners installed, so now I don’t have to worry about being caught out in the rain. I also swapped out a blown bulb in the cruise control switch and changed the boost gauge backlighting to match the rest of the gauges.
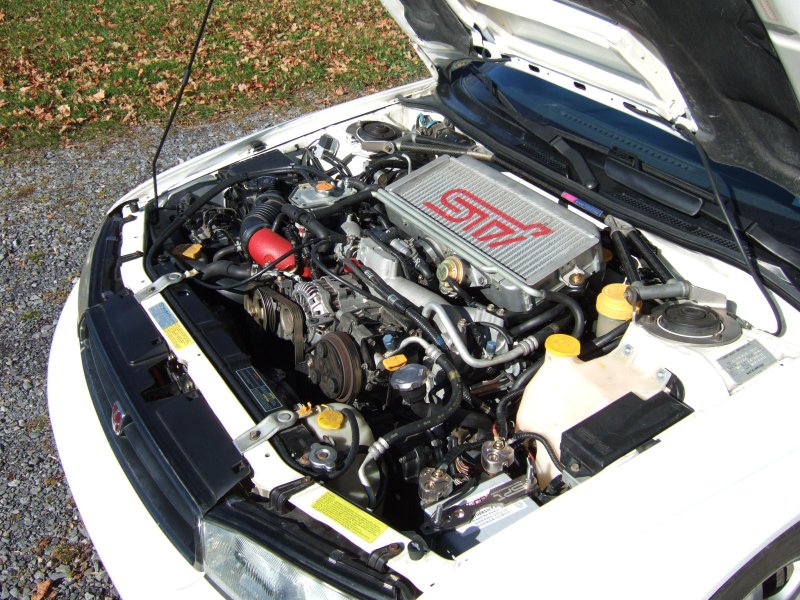
Finally I started work on a duct to seal the hood to the intercooler, as I figure I have to make the most of what little hood scoop the Legacy has. I made it out of 1 1/4″ x 7/16″ self-adhesive foam, and it seems to be working out pretty well. The only problem is that on the passenger side the intercooler doesn’t extend as far as the hood scoop does, so it’s tough to get a decent seal there.
I still haven’t had a chance to wire in the LC-1, but I took a look tonight and have pretty much planned out how it’s going to be set up. I even managed to find a couple of unused lugs for the all-important ground points.
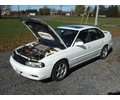
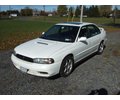
Unfortunately the weather has been terrible so I didn’t get to take it out of the garage again until today. Luckily we had a break today and I took the opportunity to take some photos!
Posted in Car Stuff | 1 Comment »